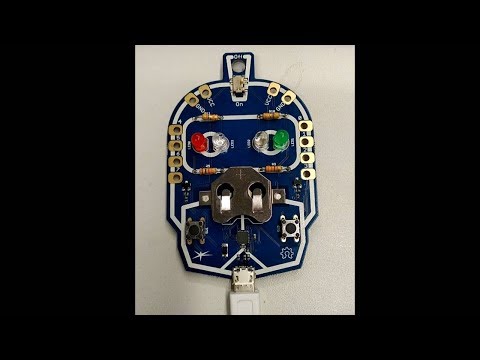
Robo-Badge
Learn to Solder Kit based on a Microchip ATtiny841 Microcontroller with Micronucleus USB Bootloader. The board is compatible with the Arduino IDE.
Features
- Microchip ATtiny841 @ 8 MHz (internal clock)
- Micronucleus USB Bootloader (Arduino compatible)
- IR-LEDs to send infrared codes (e.g. TV-B-Gone)
- LEDs, Buttons, Pin Connectors…
- MicroUSB connector for programming/communication
- Power Supply: CR2032 (3V) / LIR2032 (3.6V) cell battery or USB
Shop
Documents
Software
Installation
- Download and install the Arduino IDE.
- Add the following URL to the Boards Manager. File->Preferences->Additional Boards Manager URLs:
https://github.com/watterott/Arduino-Boards/raw/master/package_watterott_index.json - Install the Watterott AVR Boards via the Boards Manager. Further infos here. Tools->Board->Boards Manager….
- Connect the Robo-Badge via USB to the computer and then press the reset button.
- Now a LED on the Robo-Badge should start to blink.
- On a Windows operating system a driver installation is needed. The drivers are included with the BSP or you can find them here.
Build and Upload
- Start the Arduino IDE.
- Open the respective Arduino Sketch
.ino. - Select ATtiny841 (8MHz) under Tools->Board.
- Start build and upload: File->Upload.
- When the compiling has finished and Uploading… is shown, press the reset switch to start the bootloader.
- Wait till the upload has finished and Done uploading is shown.
- If there are upload problems, try another USB cable and on an USB 3 port try an USB 2 hub between the PC and board.
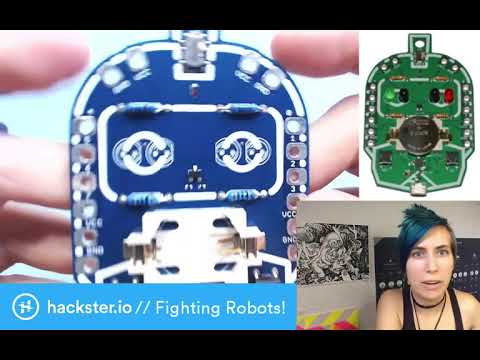
Videos